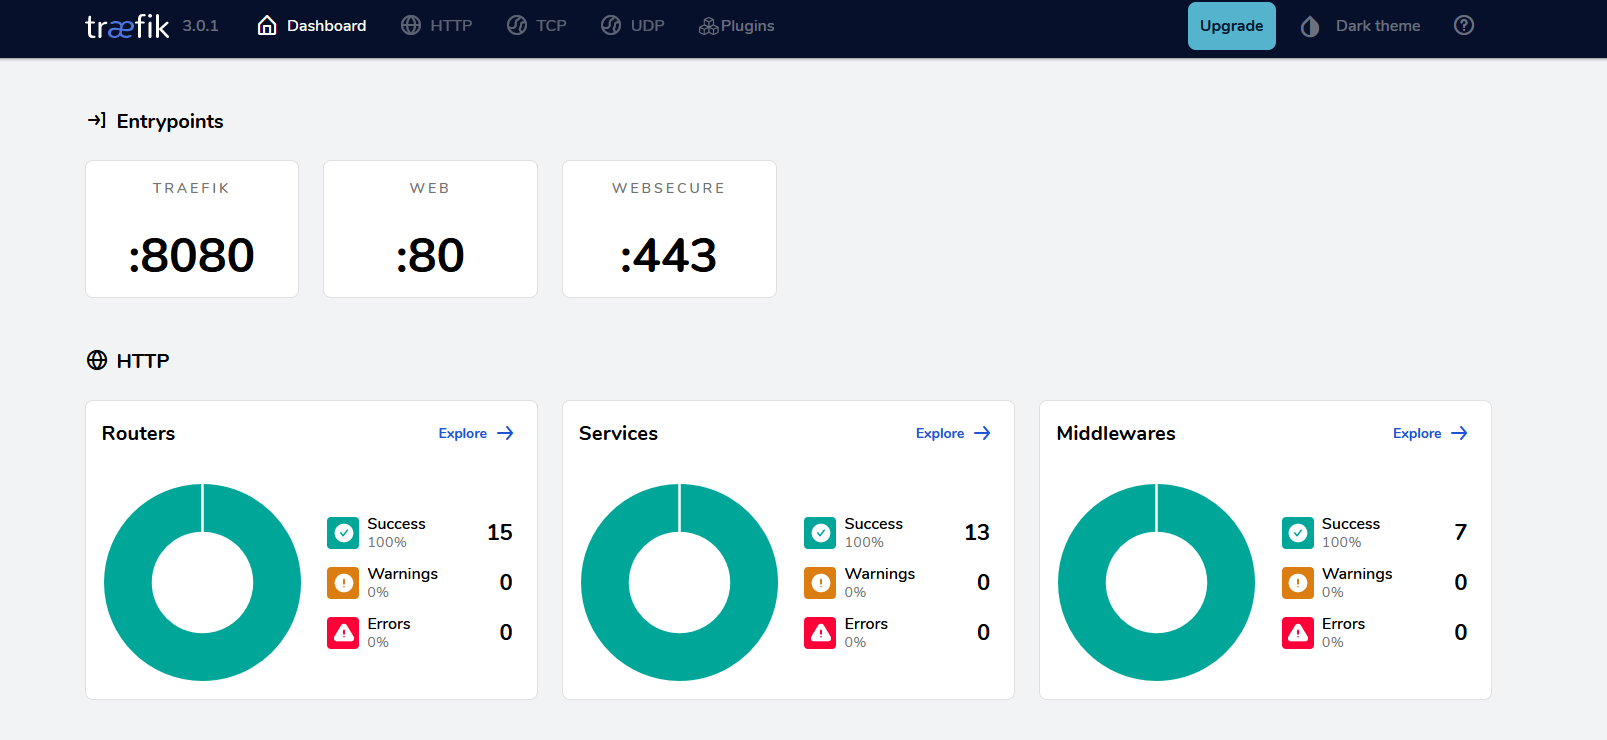
This article will explain how to set up Traefik as a web proxy for Home Assistant. You will also get instructions on how to set up a secure connection over HTTPS; with free SSL-certificates from Letsencrypt, and finally, a way to solve dynamic IP provisioning from your ISP.
Pre-requisites
For this to work, you must make sure that you are capable of port-forwarding ports 80 and 443 in your server that will be running traefik. There are 2 main methods:
- Log in to your ISP router and set a port forwarding for TCP ports 80 and 443 to the IP of your server that will run traefik. Make sure that server has a static IP-address.
- If your ISP is set in bridged mode, do the above on your private router that is connected to your ISP router.
IMPORTANT! These actions will effectively OPEN UP your server to traffic from the whole, wide world. Know the risks! However, if you keep traefik updated, Home Assistant updated and with 2FA, you will for all practical purposes be pretty safe. You may want to consider signing up to Cloudflare as they offer a cloud-based proxy service that offers an extra layer of protection.
Another pre-requisite is that you have a domain to point to Home Assistant. Preferably hosted at Domeneshop or Cloudflare for the effects of this article.
Set up traefik with docker-compose
As a base reference, you should visit the official Traefik quick-start guide.
Personally, I prefer to make some customizations.
- I like to expose my traefik dashboard to the world, with an SSL certificate and protected with basic auth
- I include some environment variables that will help me automate SSL certificates and setting up dynamic routing
So I end up with a traefik docker compose service definition like this:
services:

  traefik:
    restart: unless-stopped
    image: "traefik:v3.0.1"
    container_name: "traefik"
    ports:
      - "443:443"
      - "80:80"
      - "8080:8080"
    environment:
      CF_DNS_API_TOKEN: ${CF_DNS_API_TOKEN}
      DOMENESHOP_API_SECRET: ${DOMENESHOP_API_SECRET}
      DOMENESHOP_API_TOKEN: ${DOMENESHOP_API_TOKEN}
      HOME_ASSISTANT_DOMAIN: ${HOME_ASSISTANT_DOMAIN}
    volumes:
      - /etc/localtime:/etc/localtime:ro
      - /var/run/docker.sock:/var/run/docker.sock:ro
      - ${CONFIG_DIR}/traefik.yml:/traefik.yml:ro
      - ${CONFIG_DIR}/dynamic.yml:/dynamic.yml:ro
      - ${CONFIG_DIR}/.htpasswd:/.htpasswd:ro
      - ${DATA_DIR}/log:/var/log/traefik
      - ${DATA_DIR}/acme/acme-letsencrypt.json:/acme-letsencrypt.json
    labels:
        - "traefik.enable=true"
        - "traefik.http.routers.traefik.entrypoints=websecure"
        - "traefik.http.routers.traefik.rule=Host(`${TRAEFIK_DOMAIN}`)"
        - "traefik.http.routers.traefik.tls=true"
        - "traefik.http.routers.traefik.tls.certresolver=zerosslCloudflare"
        - "traefik.http.routers.traefik.service=api@internal"
        - "traefik.http.routers.traefik.middlewares=myauth@file"
I use an .env file in the same directory as my docker-compose.yml-file where some essential variables are contained; it will look like this:
CF_DNS_API_TOKEN="*****"
DOMENESHOP_API_SECRET="*****"
DOMENESHOP_API_TOKEN="*****"
HOME_ASSISTANT_DOMAIN="smarthome.example.com"
TRAEFIK_DOMAIN="traefik.example.com"
CONFIG_DIR=/path/to/local/dir
DATA_DIR=/path/to/local/dir
CF_DNS_API_TOKEN, DOMENESHOP_API_SECRET, DOMENESHOP_API_TOKEN are only needed if you decide to use dnsChallenge for SSL-certificates. More on that further down.
This setup requires that you create some directories and files relative to your CONFIG_DIR and DATA_DIR. You absolutely have to create all these files and folders BEFORE you first start up your traefik service. And preferably also fill some of these with some initial content.
${CONFIG_DIR}/traefik.yml
This is where your static configuration resides.
It will look like this:
global:
  checkNewVersion: true
  sendAnonymousUsage: true

log:
  level: DEBUG  # DEBUG, INFO, WARNING, ERROR, CRITICAL
  format: common  # common, json, logfmt
  filePath: /var/log/traefik/traefik.log

accesslog:
  format: common  # common, json, logfmt
  filePath: /var/log/traefik/access.log

api:
  dashboard: true
  insecure: false

entryPoints:
  web:
    address: :80
    http:
      redirections:
        entryPoint:
          to: websecure
          scheme: https
  websecure:
    address: :443

certificatesResolvers:
  letsencrypt:
    acme:
      # Let's Encrypt staging. Uncomment next line when testing is ok!
      caServer: https://acme-staging-v02.api.letsencrypt.org/directory
      email: <your-email>
      storage: acme-letsencrypt.json
      httpChallenge:
        entryPoint: web
      #dnsChallenge: # Requires CF_DNS_API_TOKEN set as environment variable
       # provider: cloudflare
      #dnsChallenge: # Requires DOMENESHOP_API_SECRET and DOMENESHOP_API_TOKEN set as environment variables
      # provider: domeneshop

providers:
  docker:
    endpoint: "unix:///var/run/docker.sock"
    exposedByDefault: false  # Default is true
  file:
    filename: /dynamic.yml
You may have several certificate resolvers, but usually one is enough. And usually, the httpChallenge is sufficient. Each certificate resolver can only have one type of challenge configured. Each certificate resolver should also have its own JSON-file defined in the docker compose service definition. Remember to create the empty JSON-file before starting/recreating traefik!
DnsChallenge is useful if you control a domain, but don't want the webpage you create an SSL-certificate to be publicly available. If you have your domain nameservers pointed to Domeneshop or Cloudflare, you can use dnsChallenge to prove ownership of a domain and this way get certificates for internal use. This will be transparently handled by traefik. To get your tokens and secrets, check out this article.
${CONFIG_DIR}/dynamic.yml
This is where your dynamic configuration resides. Here, you can use templating and extract environment variables that are set in the traefik docker service.
This is a simplified version of it for:
http:
  routers:
    homeassistant:
      entryPoints:
        - "websecure"
        - "web"
      service: homeassistant
      rule: Host(`{{ env "HOME_ASSISTANT_DOMAIN" }}`)
      tls:
        certResolver: letsencrypt

  services:
    homeassistant:
      loadBalancer:
        servers:
          - url: http://<HOME-ASSISTANT-LOCAL-IP>:8123

  middlewares:
    myauth:
      basicAuth:
        usersFile: "/.htpasswd"
The backticks (``) surrounding the domain names in the Rule section are very important!
${CONFIG_DIR}/.htpasswd
Use the htpasswd function to create a file with pairs of usernames:passwords that are allowed to authenticate certain places with basic auth; for example the traefik dashboard.
${DATA_DIR}/log
You must create this directory so it can be mounted into the traefik container. Here is where your traefik and access logs will be stored. Note: log rotation isn't part of traefik, so you need to use the logrotate Linux system utility, or some other log rotation facility.
${DATA_DIR}/acme/acme-letsencrypt.json
This is where information about your certificates will be stored locally.
Make sure your domains point to your IP-address
Firstly, go to https://ipinfo.io/ to check your current public IP-address. Now, go to your domain management interface, and set an A record to point to your IP. Typically, this will be the @ name.
Secondly, create CNAME records that point to @ for your traefik and homeassistant.
Now you may need to wait a little, depending on the TTL previous value on the records you altered. The TTL value is expressed in seconds; that's the maximum waiting time.
Configure Home Assistant to allow Traefik to be a proxy
Home Assistant won't allow being proxied by default, so you need to go to configuration.yaml and make a small update.
http:
  use_x_forwarded_for: true
  trusted_proxies:
    - <your-traefik-server-ip-address>
This will require a restart of Home Assistant.
Start traefik
Go to the directory where you created the docker-compose.yml file and type:
docker compose up -dNow traefik will be downloading layers, it will be built and started. When all is green, go to your new Home Assistant domain, and enoy!

Keep the IP-address update
Being that you have a dynamic IP-address, you should check out this article to keep your IP up to date. Scroll to the bottom.
